The moment gel nails arrived, the great frustration of manicures — smudging a perfect coat minutes after painting, or watching colour chip within days — was solved. Gels cure hard and glossy in seconds and last for weeks, and now that affordable lamps and kits have brought them home, a salon-quality manicure no longer means a salon appointment. But gels come with real rules, especially around removal, and getting them wrong is a fast way to wreck your natural nails. Done properly, at-home gels are brilliant value. This is a key skill in our nail care routine.
How Gel Nails Work
Gel polish is a different beast from regular nail varnish. Instead of air-drying, it stays liquid until cured under a UV or LED lamp, which sets it rock-hard in seconds through a chemical reaction. That is why gels are so durable and glossy and do not smudge. The system is built in layers — a base coat, colour coats, and a top coat — each cured in turn. Understanding that gel only sets under the lamp, and only in thin layers, is the foundation of getting it right at home.
Application Step by Step
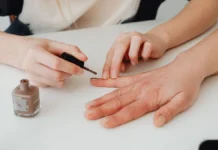
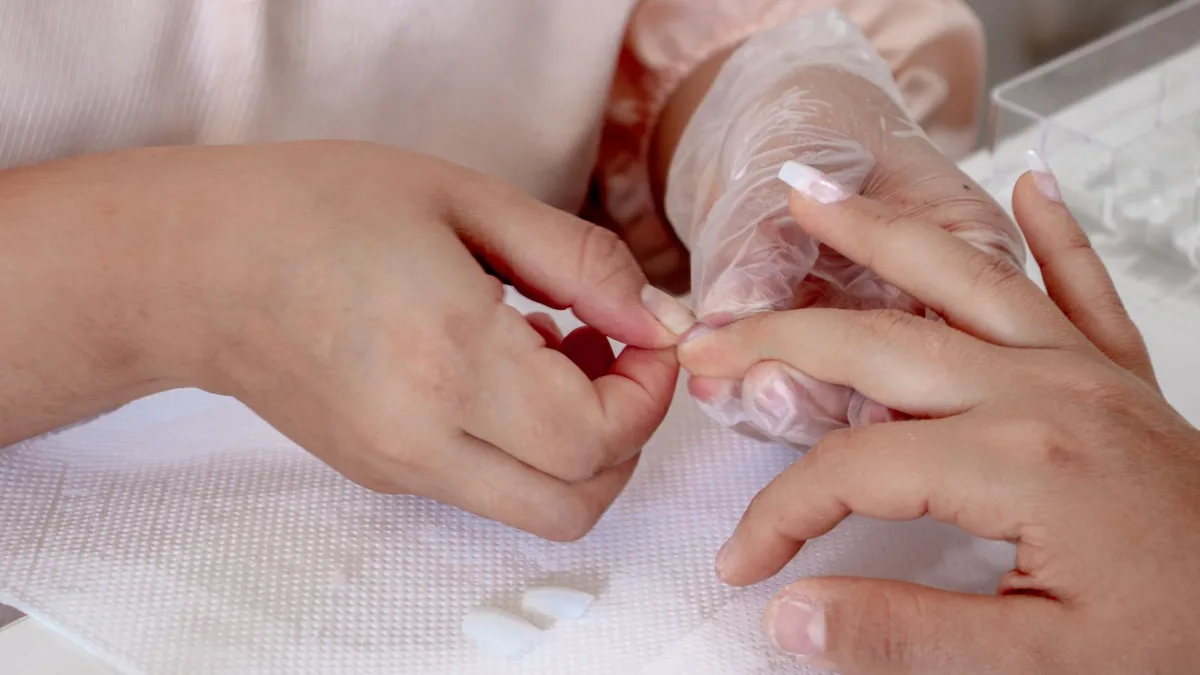
- Prep the nail: shape, gently push back cuticles, lightly buff the surface, and wipe clean — gel needs a clean, dry, oil-free nail to grip.
- Apply a thin base coat and cure it under the lamp for the stated time.
- Apply colour in thin coats, curing each one — two thin coats look better and last longer than one thick one.
- Seal with a top coat and cure, then wipe off any sticky residue with the recommended cleanser.
Cap the free edge of each nail with every layer to stop peeling, and keep gel off the skin and cuticles, which causes lifting.
The Curing Rules
Curing is where home gels go right or wrong. Use the lamp that matches your gel — LED and UV lamps and gels are not always interchangeable — and cure for the full recommended time, since under-curing leaves gel that peels and can irritate the skin. Thin layers cure properly all the way through; thick ones do not, leaving them soft underneath. Getting the lamp, timing and layer thickness right is what gives you that hard, long-lasting, salon finish.
Safe Removal Is Non-Negotiable
This is the most important part of the whole process. Never, ever pick or peel gel off — it takes layers of your natural nail with it, leaving them thin, weak and damaged. Instead, gently buff the top coat, soak cotton pads in acetone, place them on the nails, wrap each in foil, and wait for the gel to lift and soften, then gently push it away. Never force it. If it is not lifting, soak longer. Proper removal, taking the full time it needs, is what keeps your natural nails healthy under a gel habit.
Protecting Your Natural Nails
Even with perfect removal, back-to-back gels can leave nails needing some love. Give them occasional breaks, keep cuticles nourished with cuticle oil, and if your nails feel weak, a nail strengthener during breaks helps them recover. Healthy natural nails underneath are what make every gel manicure look and last its best.
The Takeaway
At-home gel nails give weeks of glossy, chip-free colour — if you prep properly, apply and cure in thin layers with the right lamp, and above all remove them by soaking, never peeling. Cap the edges, keep gel off the skin, and give your nails occasional breaks. Respect the process and home gels are a brilliant, money-saving manicure; rush the removal and they cost you your natural nails.