If hair extensions feel intimidating — the salon appointments, the cost, the fear of damage — clip-ins are the friendly, low-stakes way in. You can have long, thick hair for a night out and be back to your natural length by bedtime, with no commitment, no professional required and, done properly, no damage at all. The catch, and the thing that separates seamless clip-ins from obvious ones, is technique: blending, placement and matching. They are the easiest option in our guide to hair extensions and wigs, so let us get them looking undetectable.
Why Clip-Ins Are the Best Starting Point
Clip-in extensions are wefts of hair fitted with small pressure-sensitive clips that snap onto your own hair near the roots. Because you put them in and take them out yourself, usually daily, they cause far less damage than any semi-permanent method — there is no glue, tape or tension left in for weeks. They are also endlessly flexible: full glamour one day, natural the next, and easily stored away. For anyone nervous about extensions, or wanting them only occasionally, clip-ins are the sensible, damage-free choice.
Matching for a Seamless Blend
The number one giveaway of extensions is a colour or texture mismatch. Match the extensions as closely as possible to your own colour, and if your hair has dimension — highlights or balayage — look for multi-tonal sets rather than a flat block colour. Texture matters too: straight extensions on wavy hair, or vice versa, never blend, so either match the texture or be prepared to style both to the same finish. Human hair blends most naturally and can be styled to match; getting the match right is more than half the battle.
Placement and Application
- Section your hair horizontally, starting low near the nape, and clip the rest up out of the way.
- Tease the roots lightly where the clips will sit, giving them grip so they do not slide.
- Clip the wefts in row by row, working upward, keeping them a couple of inches below your hairline so they stay hidden.
- Leave enough of your own hair on top to cover the wefts, then blend everything together with a brush or curls.
Blending the Two Together
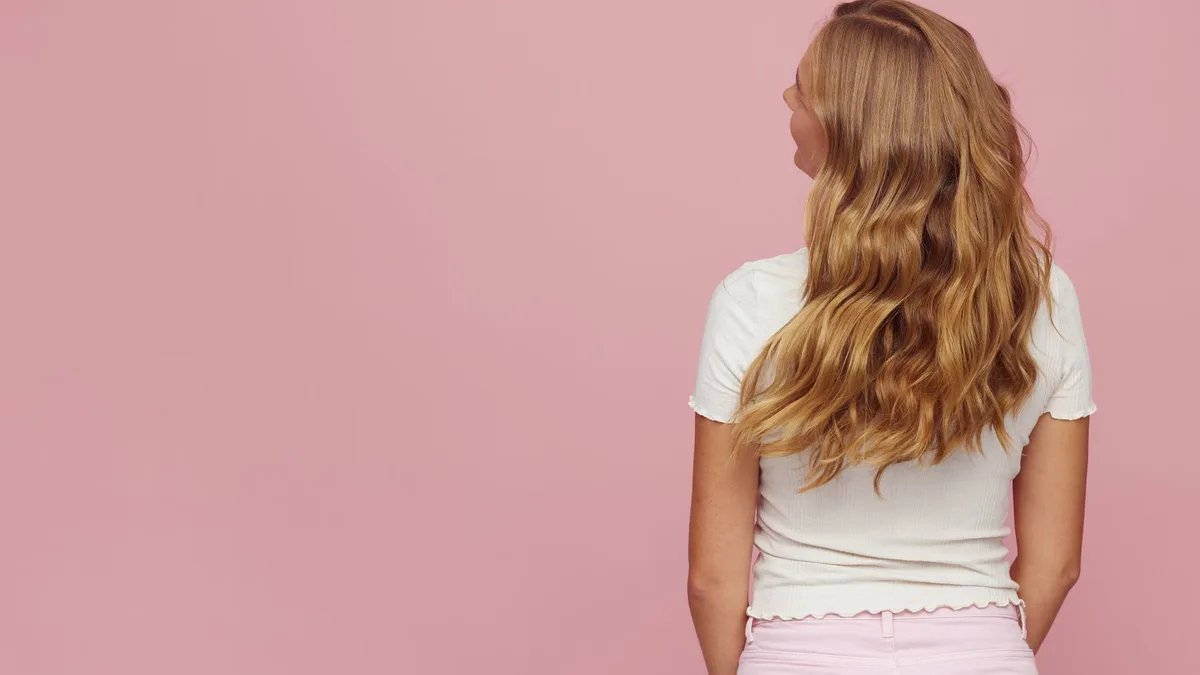
Once the wefts are in, the final step is making your hair and the extensions look like one. Curling or waving both together is the great equaliser, as a uniform style hides where one ends and the other begins far better than dead-straight hair. If there is a length gap, a light layer cut into the extensions (or blended styling) helps. A few minutes blending is what turns “wearing extensions” into simply “having great hair.”
Caring for Clip-Ins
Because you are not wearing them constantly, clip-ins last a long time with a little care: wash them only when needed with gentle products, store them flat or hung to avoid tangling, and use heat protectant if you style human-hair sets. The same gentle-handling principles as wig care apply. If you decide you want length you do not have to reapply daily, semi-permanent tape-in extensions are the natural next step up.
The Takeaway
Clip-in extensions are the easiest, most damage-free way to add instant length and volume — on your own terms, whenever you want. Match the colour and texture carefully, place the wefts low and hidden, and blend everything with a uniform style. Master those basics and clip-ins look completely seamless, giving you the long, thick hair of your dreams with none of the commitment.