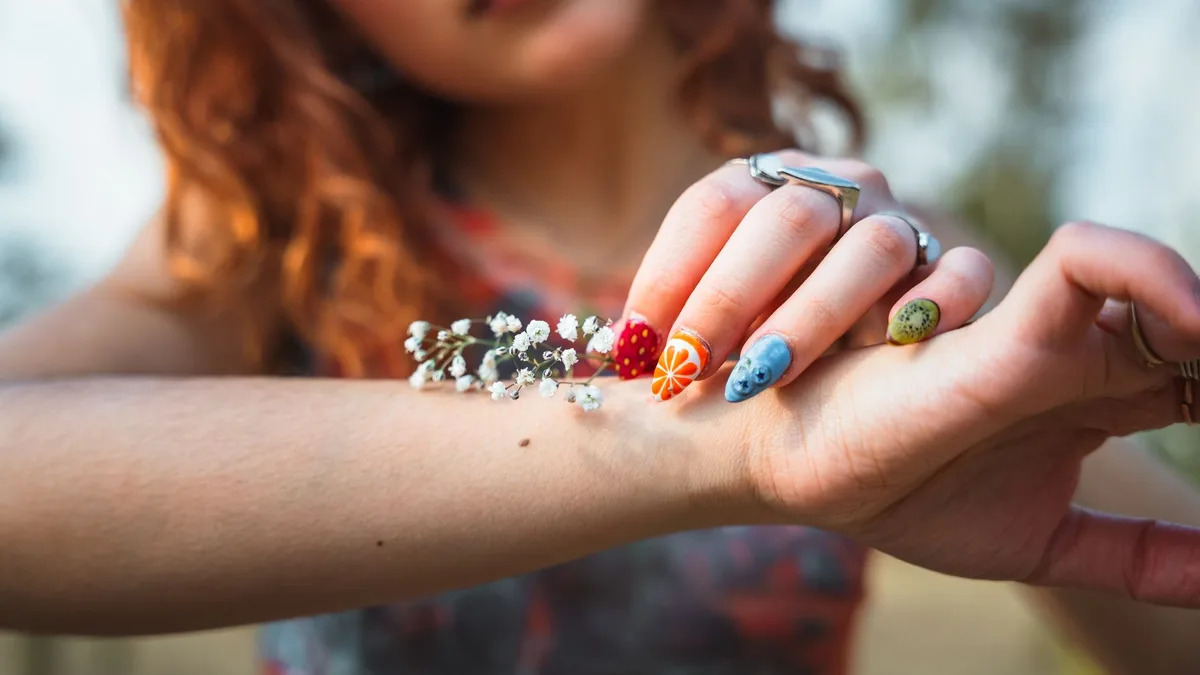
There is a particular kind of envy that comes from scrolling past intricate nail art and assuming you could never do it yourself. But the gap between a plain painted nail and a genuinely creative design is smaller than it looks — a handful of cheap tools, a few beginner techniques, and a little patience open up a whole world of patterns, colour and detail on your own fingertips. Nail art at home is fun, endlessly customisable, and far more achievable than the professional-looking results suggest. It is the creative payoff of our nail care routine.
Start With a Good Base
All good nail art starts with a clean, well-prepped canvas. Shape your nails, tidy the cuticles, apply a base coat, and lay down your background colour in thin, even coats, letting each dry. A smooth, opaque base is what makes any design on top look crisp rather than messy. Rushing this step, or working over a bumpy, streaky base, is the fastest way to make even a simple design look amateur. Patience with the foundation pays off in the finished look.
The Beginner Tools Worth Having
- Dotting tools: the easiest entry into nail art, for perfect dots, flowers and simple patterns — a bobby pin or toothpick works in a pinch.
- Thin striping brushes: for lines, French tips, and fine detail.
- Stamping kits: plates, a stamper and a scraper that transfer intricate pre-made designs in seconds — brilliant for detailed looks without freehand skill.
- Tape, stickers and gems: for clean geometric lines and easy embellishment.
Easy Designs to Start With
Begin simple and build confidence. Polka dots with a dotting tool, a single accent nail in a contrasting colour or glitter, simple stripes with tape or a striping brush, a subtle French tip, or a colour gradient sponged on are all beginner-friendly and look effective. Negative-space designs, where bare nail is part of the pattern, are forgiving and modern. Master a few of these and you can combine them into more elaborate looks as your confidence grows.
The Detail That Makes It Look Professional
Two habits separate home nail art that looks polished from art that looks messy. First, clean up your edges: a small brush dipped in nail polish remover tidies any polish that strayed onto the skin or cuticle, instantly sharpening the whole look. Second, always finish with a good top coat, which seals the design, adds shine, smooths the surface and dramatically extends how long it lasts. These two finishing steps do more for a professional finish than any fancy technique.
Nail Art on Gels
For designs that last for weeks, nail art really shines on a gel base. Because gel nails stay put without chipping, your careful artwork survives far longer than on regular polish, making the effort well worth it. Just remember to keep your nails healthy underneath with good cuticle care, so your little canvas stays in beautiful condition.
The Takeaway
Nail art at home is far more achievable than it looks: start with a smooth base, pick up a few cheap tools like dotting tools and stamping kits, and begin with simple dots, stripes and accent nails. Clean up your edges and seal with a top coat for a professional finish, and use a gel base to make designs last. With a little practice, your fingertips become a fun, ever-changing canvas.