There is a particular kind of disappointment that comes from buying a curl defining cream, following the instructions on the tub to the letter, and ending up with hair that looks exactly as it did before — only slightly greasier. It happens constantly, and almost never because the cream was bad. It happens because two invisible variables were wrong: how much you used, and how wet your hair was when you used it.
Curl cream is the most misused product on the curly shelf. It is also, when matched properly to your hair, the one that changes the most. This guide covers what a defining cream actually does to a strand, how to pick one for your curl type and your porosity, exactly how much to use — in coins, because we are British — and how to apply it so the clumps form and stay formed. It sits alongside our wider guide to curly hair products, which covers the full routine.
What a Curl Defining Cream Actually Does
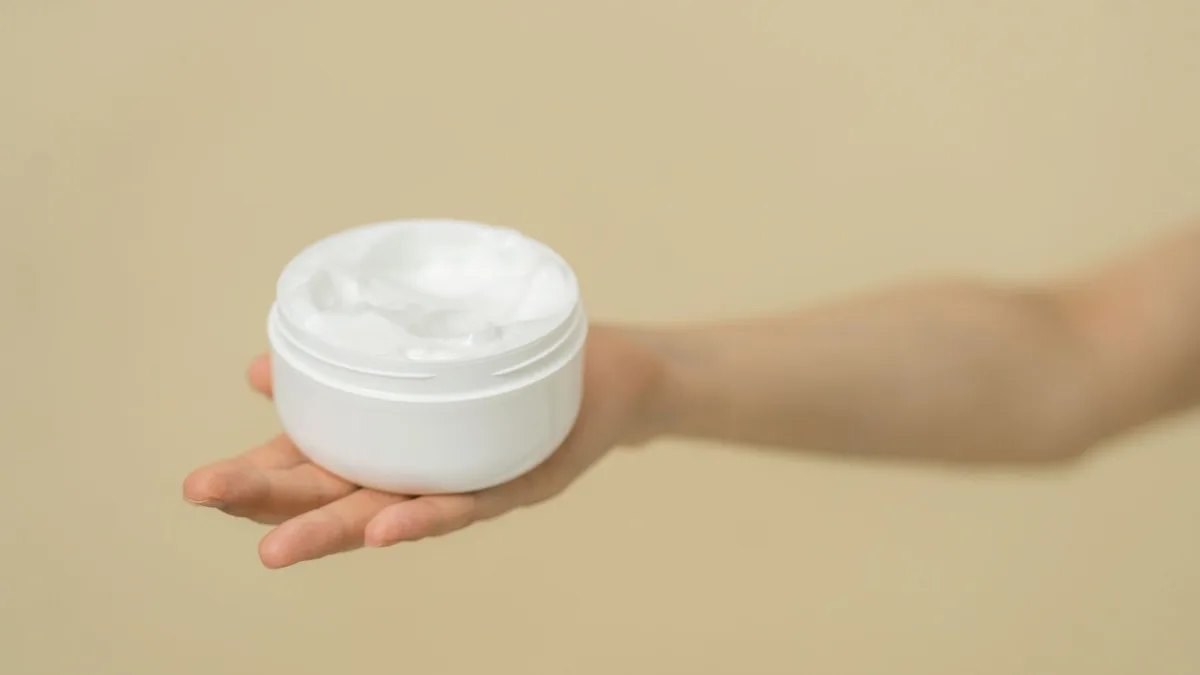
Strip away the packaging language and a curl cream is doing four measurable things at once:
- Humectants — glycerin, aloe, betaine, propanediol — pull water into the strand and keep it there while the hair dries.
- Emollients — shea, jojoba, coconut, mango butter — coat the outside, flatten the cuticle scales and stop that water escaping.
- Light film formers — methylcellulose, polyquaterniums, flaxseed — hold neighbouring hairs together so they dry as one clump instead of forty separate frizzy strands.
- Proteins or peptides — hydrolysed wheat, rice, silk, keratin — give temporary structure to weak or damaged hair, and over weeks can measurably strengthen it.
The visible result of all four working together is definition: fewer, fatter, shinier curl clumps. Shine, incidentally, is not an added ingredient — it is what happens when a cuticle lies flat enough to reflect light evenly.
Cream versus gel, mousse and leave-in
| Product | Moisture | Hold | Frizz control | Its actual job |
|---|---|---|---|---|
| Leave-in | High | None | Low | Hydrate and detangle before styling |
| Curl cream | High | Light to medium, flexible | Medium | Moisturise and define in one step |
| Gel | Low | Strong, forms a cast | High | Lock the shape and hold it all day |
| Mousse | Low | Medium, airy | Medium | Add volume and lift, especially at the root |
Read that table twice and most product arguments online dissolve. Cream is not competing with gel — it is the layer underneath it. If your curls look hydrated but collapse by lunchtime, you do not need a better cream, you need a gel over the top. If they hold beautifully but feel like straw, you need more cream, not more gel. And if your hair is fine and goes flat, a curl enhancing mousse may serve you better than any cream on the shelf.
Match the Cream to Your Curl Type — and the Weight to Your Porosity
Here is the rule that organises everything else in this article: porosity decides how heavy your cream should be; curl type decides how much of it you use. Get those two the right way round and shopping becomes simple.

By curl type
- Type 2, waves. The lightest possible hand. Waves collapse under cream — use a milk or a feather-light formula through the mid-lengths only, or skip cream and use mousse. Fine wavy hair does best with light protein creams.
- Type 3, curls. This is where cream produces the most dramatic before-and-after. Medium-weight creams with real slip; layer a gel on top if you commute in British weather.
- Type 4, coils. The thirstiest pattern by design — sebum cannot travel round that many bends. Rich custards and butter-based stylers, applied in four to six sections, usually with a leave-in underneath and a gel or butter on top.
By porosity
| Porosity | What to buy | What to avoid |
|---|---|---|
| Low (water beads on hair, slow to dry) | Water-based, light creams; humectants such as betaine and propanediol; light oils — jojoba, argan, apricot kernel; cationic conditioners such as behentrimonium methosulfate for slip without residue | Shea, mango or cocoa butter high in the ingredients list; heavy protein treatments; glycerin-heavy formulas in muggy weather |
| Medium (wets and dries evenly) | Almost anything; alternate moisture-led and protein-containing creams by feel | Overthinking it |
| High (drinks instantly, dries in hours, usually colour- or heat-damaged) | Rich emollient creams and custards, with protein to patch the cuticle, then something to seal — cream then gel, applied fast | Watery milks that evaporate before they work; skipping the sealing layer |
A note that matters more in Britain than almost anywhere: if you wash in hard water — London, the South East, much of the Midlands and East Anglia — emollient-heavy creams can bind with calcium and magnesium and leave a dulling film that mimics low porosity. Independent testing has found the richest butter-based creams perform worst in hard water, while lighter, water-based formulas hold up. If your cream worked in Manchester and stopped working when you moved to London, this is why. A chelating or clarifying wash every three to four weeks fixes it.

How Much to Use: The Coin Rule
Under-dosing is the single most common curl cream mistake — more common than over-dosing, despite what the internet says. People use a pea when they need a tablespoon, get weak definition, and blame the product. Start here, then adjust for density:
| Curl type | Starting amount |
|---|---|
| 2A, fine waves | A 5p coin |
| 2B–2C waves | A 10p coin |
| 3A–3B curls | A 20p coin (about a tablespoon) |
| 3C–4A curls and coils | A 50p coin (about two tablespoons) |
| 4B–4C coils | A full handful, worked through four to six sections |
Two adjustments. If your hair is unusually dense — lots of strands rather than thick strands — go up a level. If it is fine and low porosity, stay at the bottom of your range and apply from the mid-lengths down, keeping the roots clear so you do not lose volume.
And always emulsify: rub the cream between your palms until it warms and turns slightly translucent. It spreads twice as far, and half the “this product is too heavy” complaints disappear at that step.
How to Apply It for Maximum Definition
Soaking wet or damp? The honest answer
Most brands say soaking wet. A few say seventy per cent dry. Both are telling the truth about different outcomes:
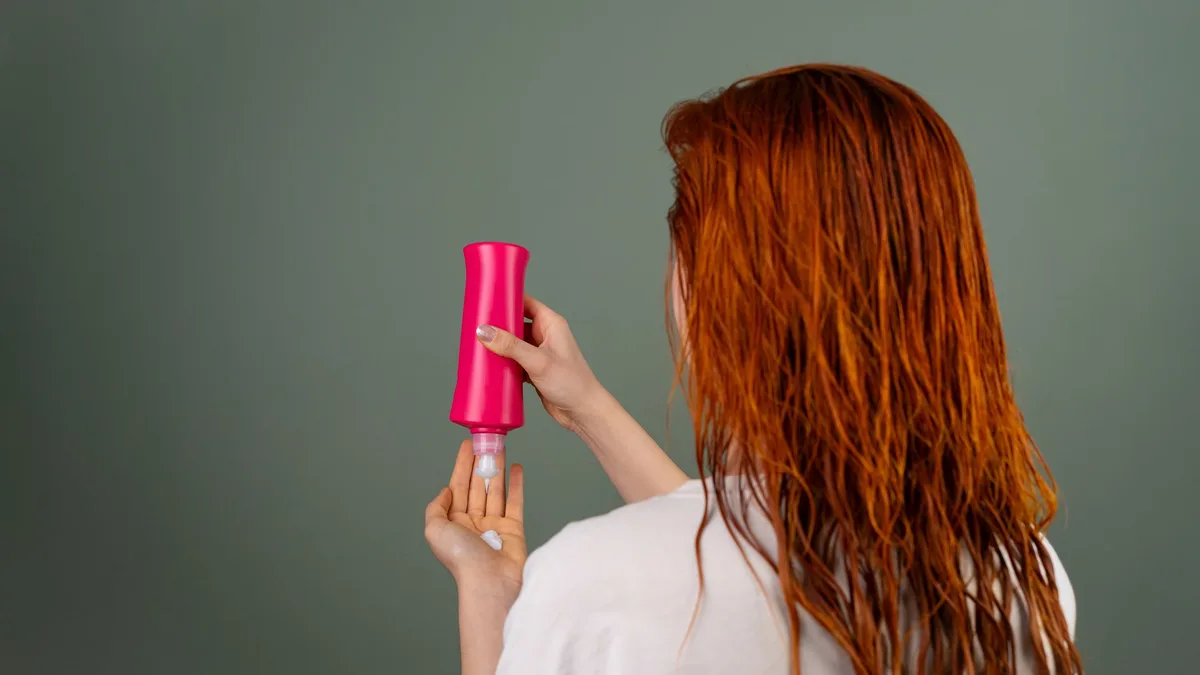
- Soaking wet gives the tightest clumps and the most defined ringlets, because water is what spreads the product evenly and holds neighbouring hairs together while they dry. It costs you a little root volume.
- Damp gives a softer, looser, more voluminous set with less definition — genuinely useful for fine waves and for day-two refreshing, and a mistake on thick or coily hair.
If your hair is high porosity, this is not a preference — go soaking wet, and work fast, because your hair will be half dry before you finish the back sections.
Smooth, rake, scrunch
- Prep. Cleanse, condition, detangle in the conditioner, and apply a leave-in while the hair is still dripping. Do not towel-dry first.
- Section. Two sections for fine or short hair, four to six for dense or coily hair. Skipping this is why the back of your head never looks like the front.
- Smooth. Emulsify the cream, then glide flat palms down the outside of each section — the “praying hands” move. This is the step that creates shine.
- Rake. Run closed fingers from root to tip to carry product through the section. Claw-shaped fingers separate the clumps you are trying to build.
- Scrunch. Cup the ends and push upward towards the scalp, several times, until you hear the wet squelch that curly hair people are unreasonably fond of.
- Plop. Lay a cotton T-shirt or microfibre towel flat, flip your head into it, tie the sleeves at the nape and leave for fifteen to twenty minutes.
- Dry. Air-dry or diffuse on low heat and low speed, outer sections and roots first. Then leave it alone until it is at least eighty per cent dry — every touch before that costs you definition.
If your cream forms a light cast, do not panic and do not scrunch it out early. Wait until the hair is completely dry, then break it with clean hands or a drop of light oil.
Layering: Cream Plus What?
- Cream alone — fine waves, low humidity, or anyone who hates crunch. Expect softness and some frizz by evening.
- Leave-in → cream → gel — the workhorse for type 3 and most of type 4. Definition that survives a commute.
- Cream → mousse — fine or limp hair that needs lift as well as moisture. Mousse on top adds body without the weight of gel.
- Leave-in → cream → butter — 4B–4C coils in winter, or after colour.
No waiting time between layers — everything goes on while the hair is still wet, one after the other. And no double-dipping later in the day: reapplying cream to already-dry hair is the fastest route to buildup and greasy roots. If you need more moisture mid-week, use a curl refreshing spray instead.
Ingredients Worth Paying For
Turn the tub over. The first six ingredients tell you nearly everything.
- Worth it: water first (a cream that leads with butter is a butter, not a cream); behentrimonium methosulfate or cetrimonium chloride for slip that rinses clean; betaine or propanediol as gentler humectants than glycerin; hydrolysed rice, silk or wheat protein for damaged or high-porosity hair; aloe and flaxseed as light film formers.
- Fine in moderation: shea, mango and cocoa butter — brilliant on coils, heavy on waves; coconut oil, which suits some heads and makes others brittle; glycerin, which is superb in mild damp and unpredictable in a heatwave.
- Be wary: non-water-soluble silicones (they flatter the hair short-term and then demand a harsher shampoo), drying alcohols such as ethanol and isopropyl alcohol high in the list, and mineral oil on already-dehydrated hair.
One caveat on protein. It is genuinely useful on high-porosity, bleached or heat-damaged hair, where it temporarily patches gaps in the cuticle. On low-porosity hair it accumulates and turns curls stiff and snappable. If your hair suddenly feels like straw despite deep conditioning, stop all protein for a month and add a moisture-only hair mask weekly.
Which Curl Cream Should You Actually Buy?
Grouped by the problem you are trying to solve rather than by brand, with the price bands you will find in UK chemists and curl retailers. Mainstream creams sit around £10–£13; salon formulas run £20–£28.

- Best value, works on nearly everyone: Cantu Coconut Curling Cream. Soft, bouncy hold, widely stocked, usually under a tenner.
- Thick type 3 hair and twist-outs: SheaMoisture Coconut & Hibiscus Curl Enhancing Smoothie — rich, forgiving, excellent slip.
- Fine, wavy or colour-treated hair: a feather-light protein cream — Curlsmith’s is the reference point. Definition without the drop.
- Low porosity and hard water: lighter, water-based salon creams such as Innersense I Create Curl Memory, which resists mineral binding better than butter-heavy formulas.
- High porosity and damaged curls: Bounce Curl’s avocado and rose oil cream for definition, sealed with a gel — but expect to clarify monthly if your water is hard.
- 4A–4C coils: Oyin Boing! Coil Styler or Aunt Jackie’s Curl La La Custard — strong hold, heavy weight, made for this texture.
- Everyday light moisture: Camille Rose Curl Love Moisture Milk or SheaMoisture Curl & Style Milk.
- Testing without commitment: a mini set from a UK curl brand — around £28 gets you cleanser, conditioner, creme and gel in travel sizes, which beats gambling £25 on one full-size tub.
Stock all of the above in Boots, Superdrug, Sally Beauty and the UK curl specialists, most of whom offer free delivery over £20 to £40 — which is still cheaper than customs on an American haul.
Common Mistakes With Curl Cream
| What you see | What went wrong | What to change |
|---|---|---|
| Weak, undefined curls | Under-dosing, or applying to towel-dried hair | Go up a coin size; apply while dripping |
| Greasy, limp, slow to dry | Too much cream, or cream too heavy for your porosity | Clarify, then halve the dose or switch to a lighter formula |
| Frizzy halo, separated strands | Raked with claw fingers, or touched while drying | Closed fingers, then hands off until 80% dry |
| Definition gone by lunchtime | No hold layer | Add a gel over the cream |
| Straw-like despite conditioning | Protein overload or hard-water buildup | Protein break plus a chelating wash |
| Flat roots | Cream applied at the scalp | Mid-lengths and ends only |
If frizz survives all of that, it is probably damage rather than technique, and our guide to anti-frizz products is the next stop.
Making It Last Between Washes

Curl cream is a wash-day product, but it has one very good second-day use: emulsify a pea-sized amount in wet palms and scrunch it only into the sections that have gone frizzy or flat. Never apply it dry and never do the whole head — that is how a good wash day becomes a greasy day three.
The rest of the maintenance is mechanical: pineapple your curls into a loose high ponytail at night, sleep on silk or satin, and mist with water before you touch anything in the morning. Do that and a good cream application will genuinely hold its shape for three days.
Frequently Asked Questions
Can I use curl cream every day?
You can, but most people should not. Cream on dry hair sits on the surface and builds up. Use it on wash day, refresh with water plus a trace of cream on the days between, and clarify every three or four weeks.
Do I need a leave-in as well as a curl cream?
If your cream is rich and your hair is fine, no — the cream is doing both jobs. If your hair is high porosity, coarse or coily, yes: the leave-in hydrates, the cream defines, and the two together outperform a double dose of either.
Why does my curl cream flake?
Almost always product incompatibility or over-application — a heavy cream under a strong gel, or cream applied to hair that was not wet enough. Use less, apply wetter, and if it persists, change one of the two products rather than both.
Is an expensive curl cream better than a supermarket one?
Not reliably. In blind testing, £10 creams routinely match £25 ones on definition and frizz control; the premium usually buys lighter texture, nicer fragrance and better performance in hard water. Match the weight to your porosity first, and only then worry about price.
How long before I know if a cream works for me?
Three wash days. One to find the right dose, one to correct it, one to judge the result. Changing product, dose and technique all at once tells you nothing — change a single variable each wash.
The Bottom Line
A curl defining cream is not a miracle in a tub; it is a delivery system for water, held in place by film formers and sealed by emollients. Choose its weight by your porosity, its quantity by your curl type, apply it to soaking-wet hair with flat palms and closed fingers, and then — the hardest part — leave it alone while it dries.
Do that with a £10 tub and you will get better curls than most people get from a £30 one used carelessly.